|
| Put em up! |
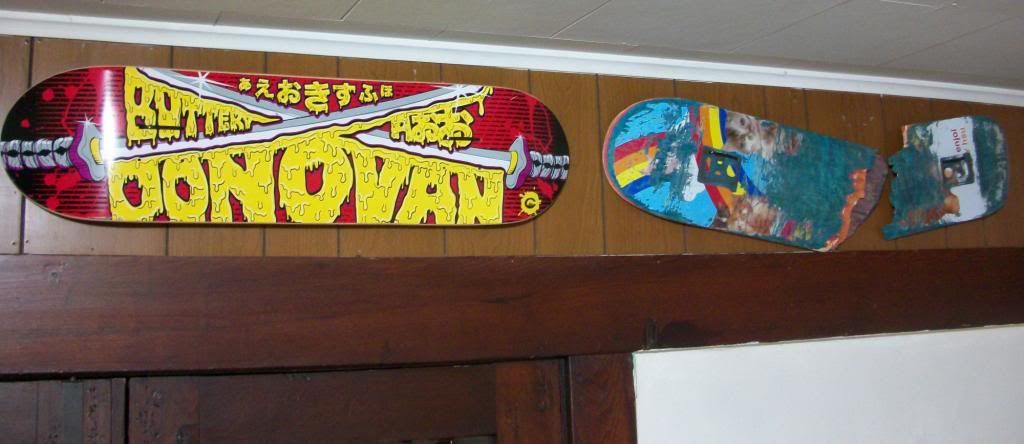
There’s a moment in everyone’s life where they say to themselves, “Hey, why didn’t I think of that?” At Eduskate boardshop they have quite a few decks mounted on the shop walls in this fashion and it really is a great idea. I’m fairly confident I could put a deck on a wall like this in under a minute if there was reason to do so. The cost of mounting one deck, should be less than $0.25 doing this too.
Supplies:
 |
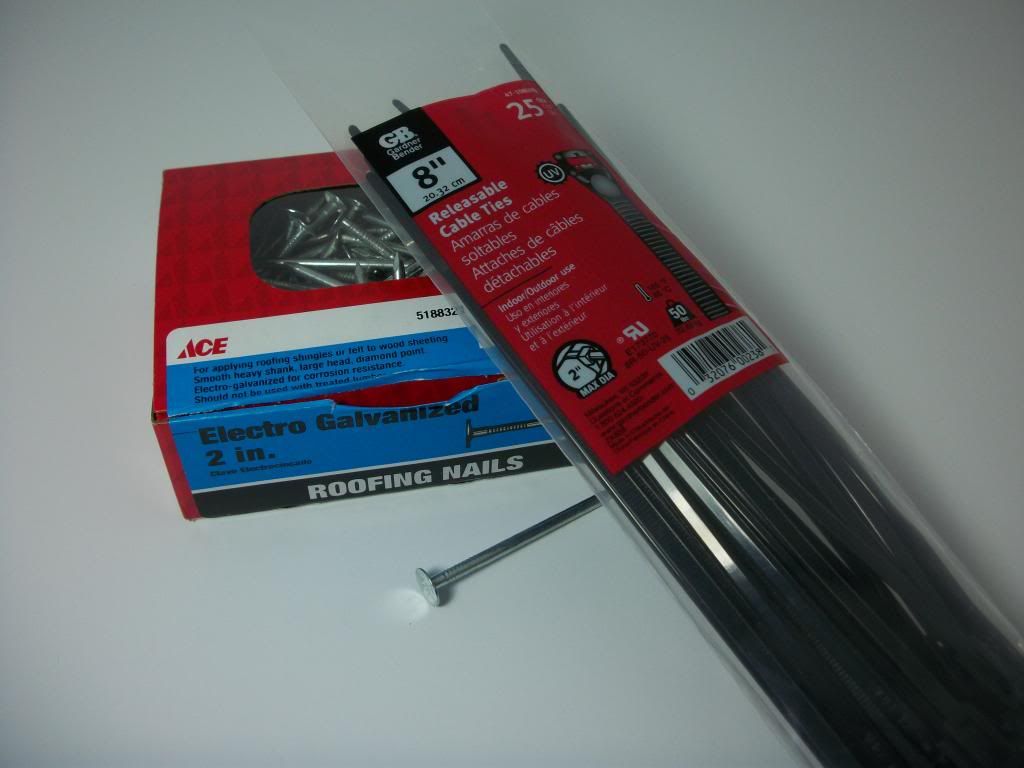
| A nail with a wide head and a zip tie. I chose releasable zip ties that can be reused and roofing nails. |
We’ll be mounting this deck vertically, but you can do this twice and mount a deck horizontally if you choose.
Step One: Nailing.
 |
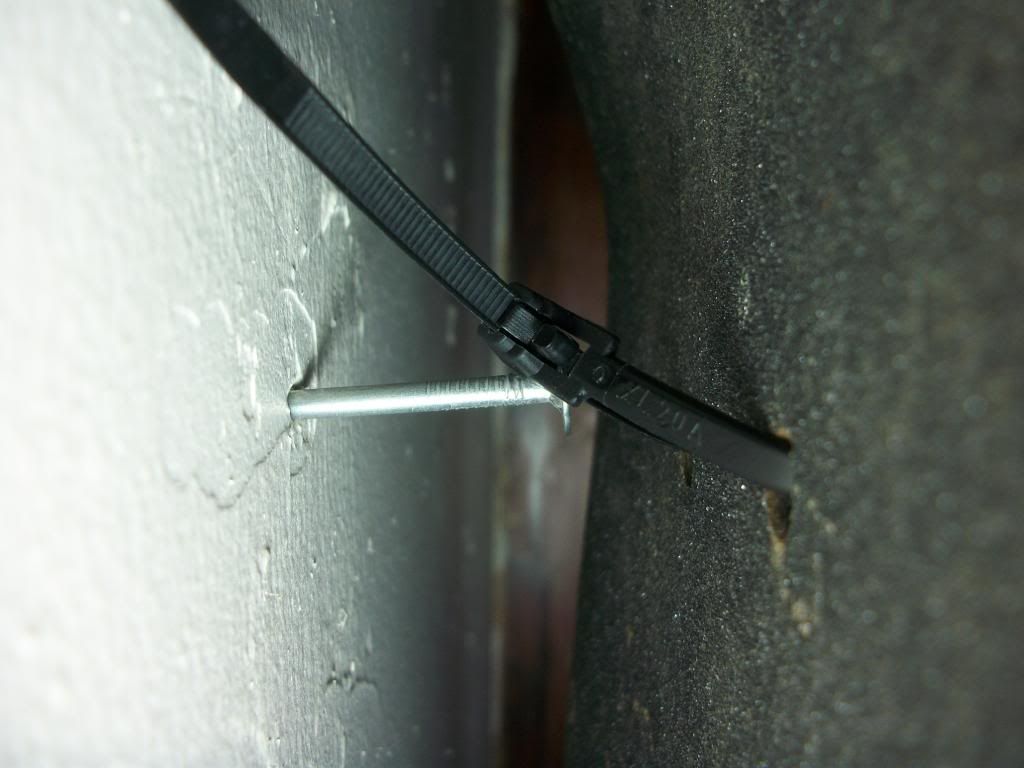
| Hammer your nail into the wall where you want the deck to hang. It doesn’t HAVE to be on a stud but that would be ideal. (Keep in mind that the nail is where the top two truck holes will be.) |
Step Two: Deck Prep.
 |
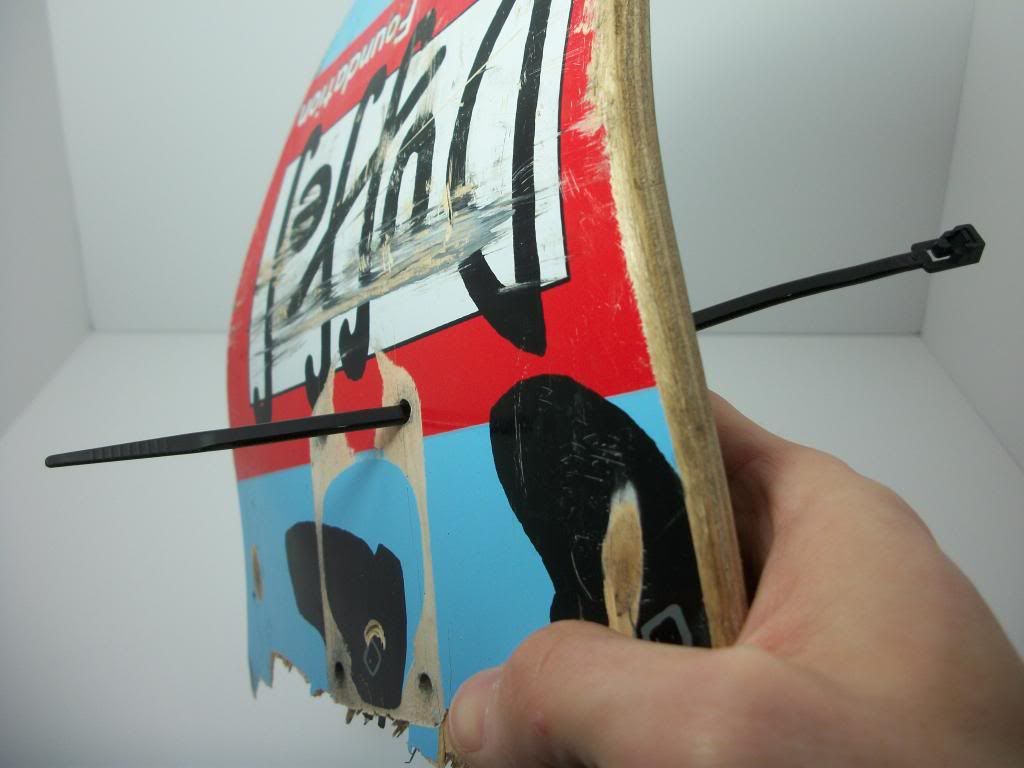
| Loop the zip tie through with the lock on the grip side. |
 |
| Loop it back through the second hole. |
 |
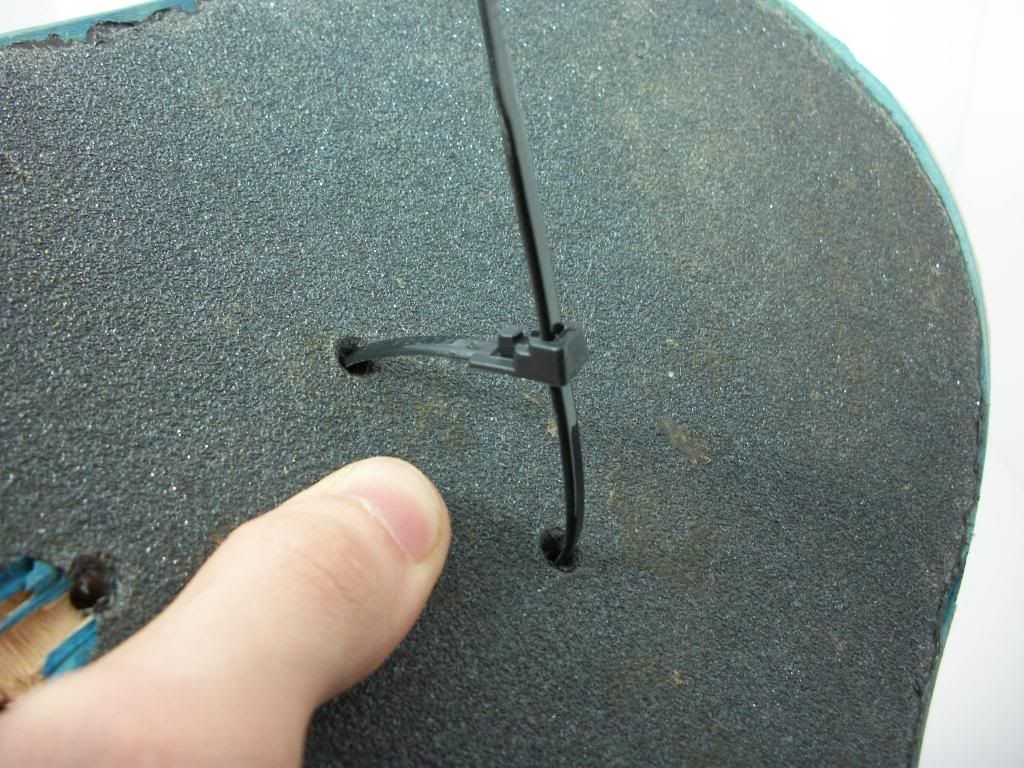
| Tighten the tie so that it stays together, we’ll do more later. |
Step Three: Mount it.
 |
| Hook the loop around the nail head. Tighten the zip tie until it’s secure. |
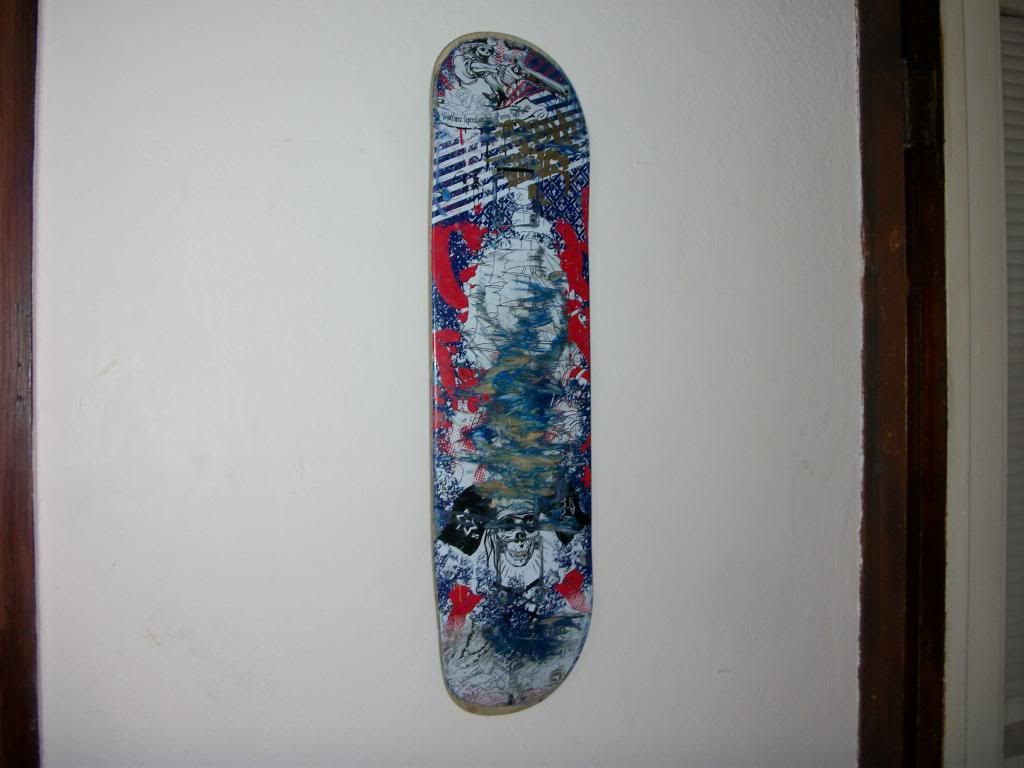
Finished!
I can’t say enough good things about this. You can mount decks both vertically and horizontally, it’s incredibly easy to rearrange the decks and the cost is nearly nothing.